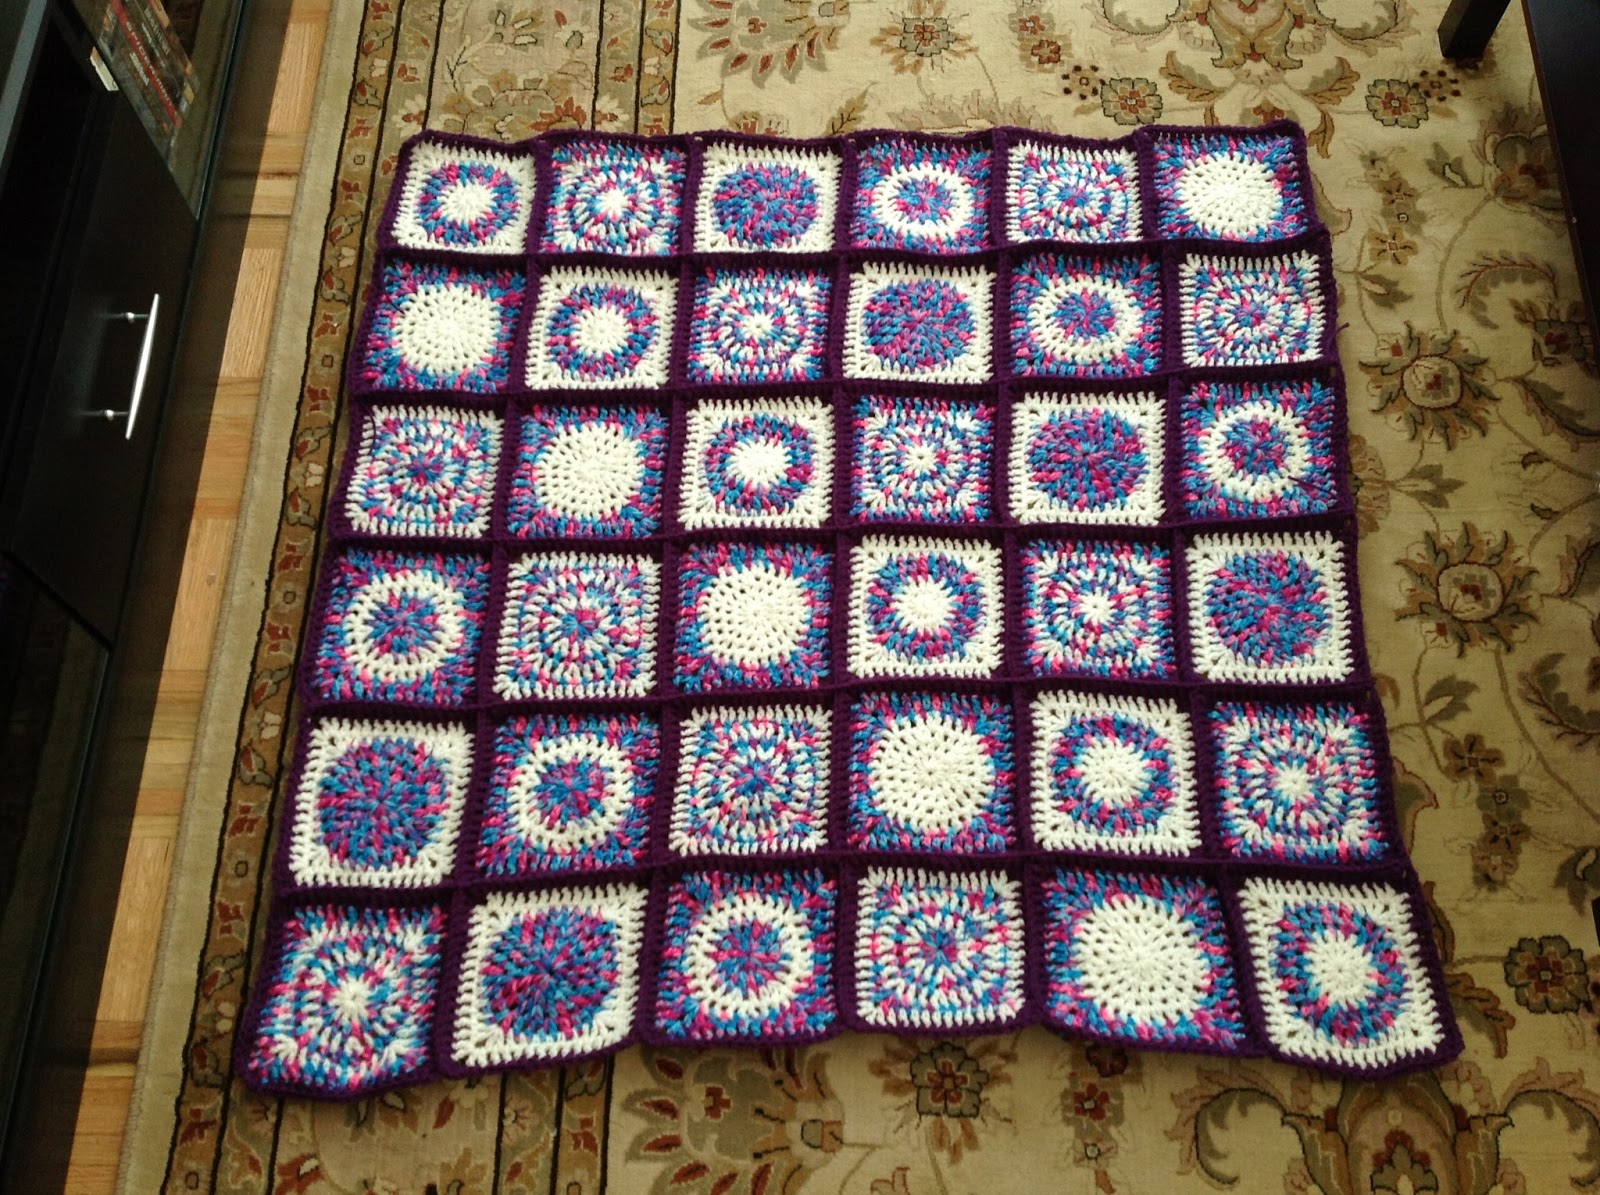
I wanted to make a blanket made up of circles joined together. I found a pattern and tried to follow it, however, since I haven't been crocheting all that long I just couldn't make sense of it and had to give up. Then, I thought I should just try and make my own simple circle pattern... and that's how I got this blanket.

I decided to play about with my newly created pattern a little and came up with 3 different styles of circles simply by using different colours for different rounds. I then reversed these colour combinations to create 6 different circles.

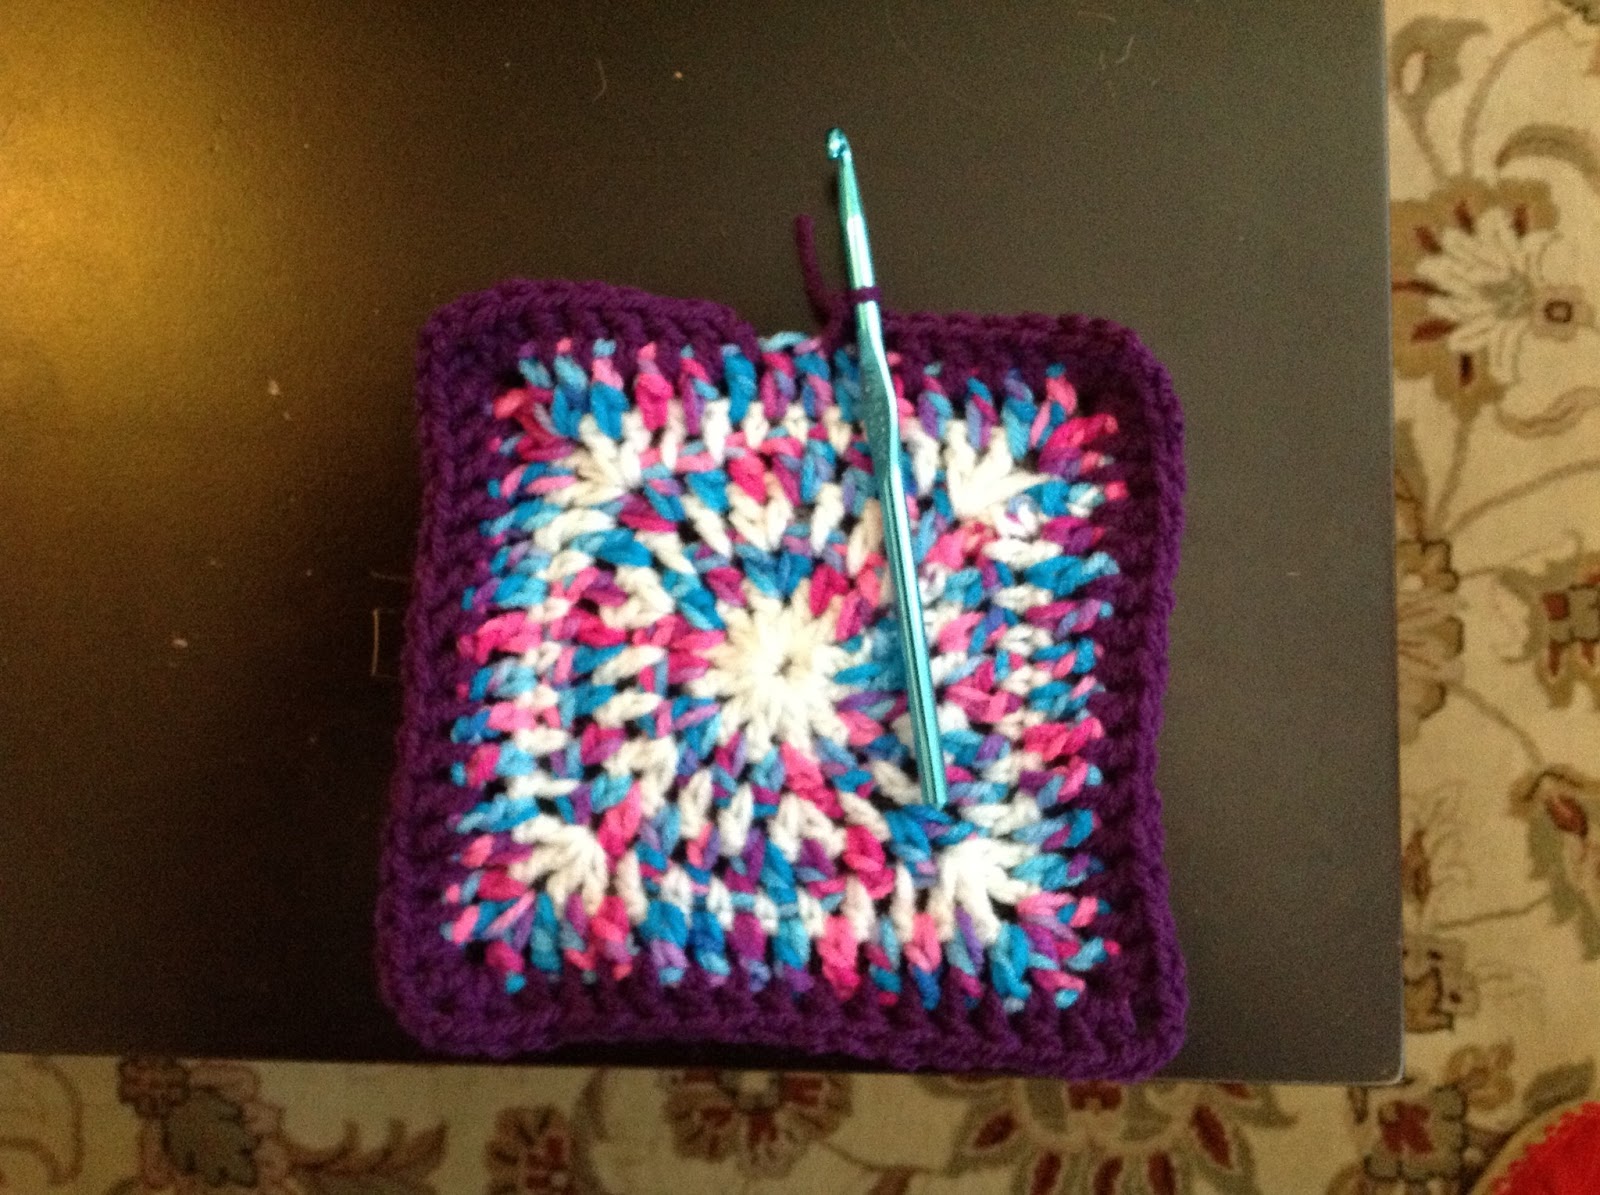
Now I'm going to try and share this pattern with you, this is my first pattern so I hope it makes sense. I'll start off with the circle seen in the top left of the picture above - large white circle with multi-coloured. I used Red Heart Super Saver Yarn in Soft White(colour 1) and Bon-bon (colour 2) but you can use whatever colours you like. I used a 6mm J hook, if you are more experienced you may choose another size, I just used the J hook because it looked like a nice size for this kind of project. I'm not sure what to tell you about gauge since I don't understand this either... maybe in a few months I'll have it figured that out :-)
Krazy Kabbage's Circle Squares Pattern
Using J hook and worsted weight yarn
With C1 (colour 1) chain 4, sl st to form ring.
Rd1: sl st in ring, ch 2, 11 dc in ring sl st into top of 1st dc (12dc)
Rd2: sl st in 1st space, ch 2, dc in same space, 1dc in next space, *2dc in next space, 1 dc in next space* repeat from * sl st in top of 1st dc (18dc)
Rd3: sl st in 1st space, ch 2, dc in same space, 1dc in next 2 spaces, *2dc in next space, 1 dc in next 2 spaces* repeat from * sl st in top of 1st dc (24dc)
Rd4: Repeat round 3 (32dc)
Fasten off then attach C2 (colour 2) in 1st space.
Rd 5 (1st round of square): Ch2, dc ch2, 2dc in same space for the 1st corner, * dc in next space, hdc in next, sc in each of next 3 spaces, hdc in next, dc in next, (2dc, ch2, 2dc in next for corner) repeat twice from * sl st into top of 1st dc (you should have 11 stitches per side and a total of 44)
Rd 6: sl st in 1st space, ch 2, *(2dc, ch2, 2dc) in next space, dc in each of next 10 spaces, repeat twice from * sl st in 1st dc, fasten off (56dc or 14dc per side)
For variation 2 (shown in top centre of photo above), do rounds 1 and 2 in colour 2, rounds 3 and 4 in colour 1 and rounds 5 and 6 in colour 2
For variation 3 (top right of photo above), rounds 1 in colour 1, round 2 in colour 2 and alternate the colours (rds 1, 3, 5 in white and rds 2, 4, 6 in multi)
Reverse the colours to make the 3 squares shown on the bottom row.
I made 6 of each square so I got 36 squares and arranged them as show in the photo below.

The squares seemed a little small to make a blanket so I decided to make them bigger by going around each one in purple. To achieve this simply repeat round 6. If you want to make them even bigger just repeat the round again, or make more squares for a bigger blanket.

Joining the squares
To join them together, I laid them face up and single crocheted across starting with a slip stitch through the adorning corners of the first 2 squares (top right square and the one below it) then SC in same space and each space across. Do this five times so the squares are joined horizontally. Turn the blanket and repeat the process adding in 1 chain stitch to jump over each of the previous joins.
 |
|
Boarder
For the border I double crocheted all around in the dark purple.
Round 1: Fasten the yarn with a slip stitch into any space, ch 2, dc in each space across, (2dc, ch2, 2dc for corners) sl st to join through top of 1st stitch and fasten off.
Round 2: Using white, repeat round 1.
Round 3: Using purple, repeat round 1.
I hope you enjoyed this pattern. I'd love to know what you think. If you use my pattern and post it online please give me, Krazy Kabbage, credit and provide a link back to this post. Thanks!
Also, while you are here, would you mind voting for me on a facebook contest?
I'm trying to win a crib and it ends March 1st 2013. Here's the link (click link, press vote next to Kat) https://apps.facebook.com/easypromos/voteme/69654/618384197 Thank you!!