Showing posts with label gift. Show all posts

Tuesday, February 12, 2013

Granny Circle Squares Blanket

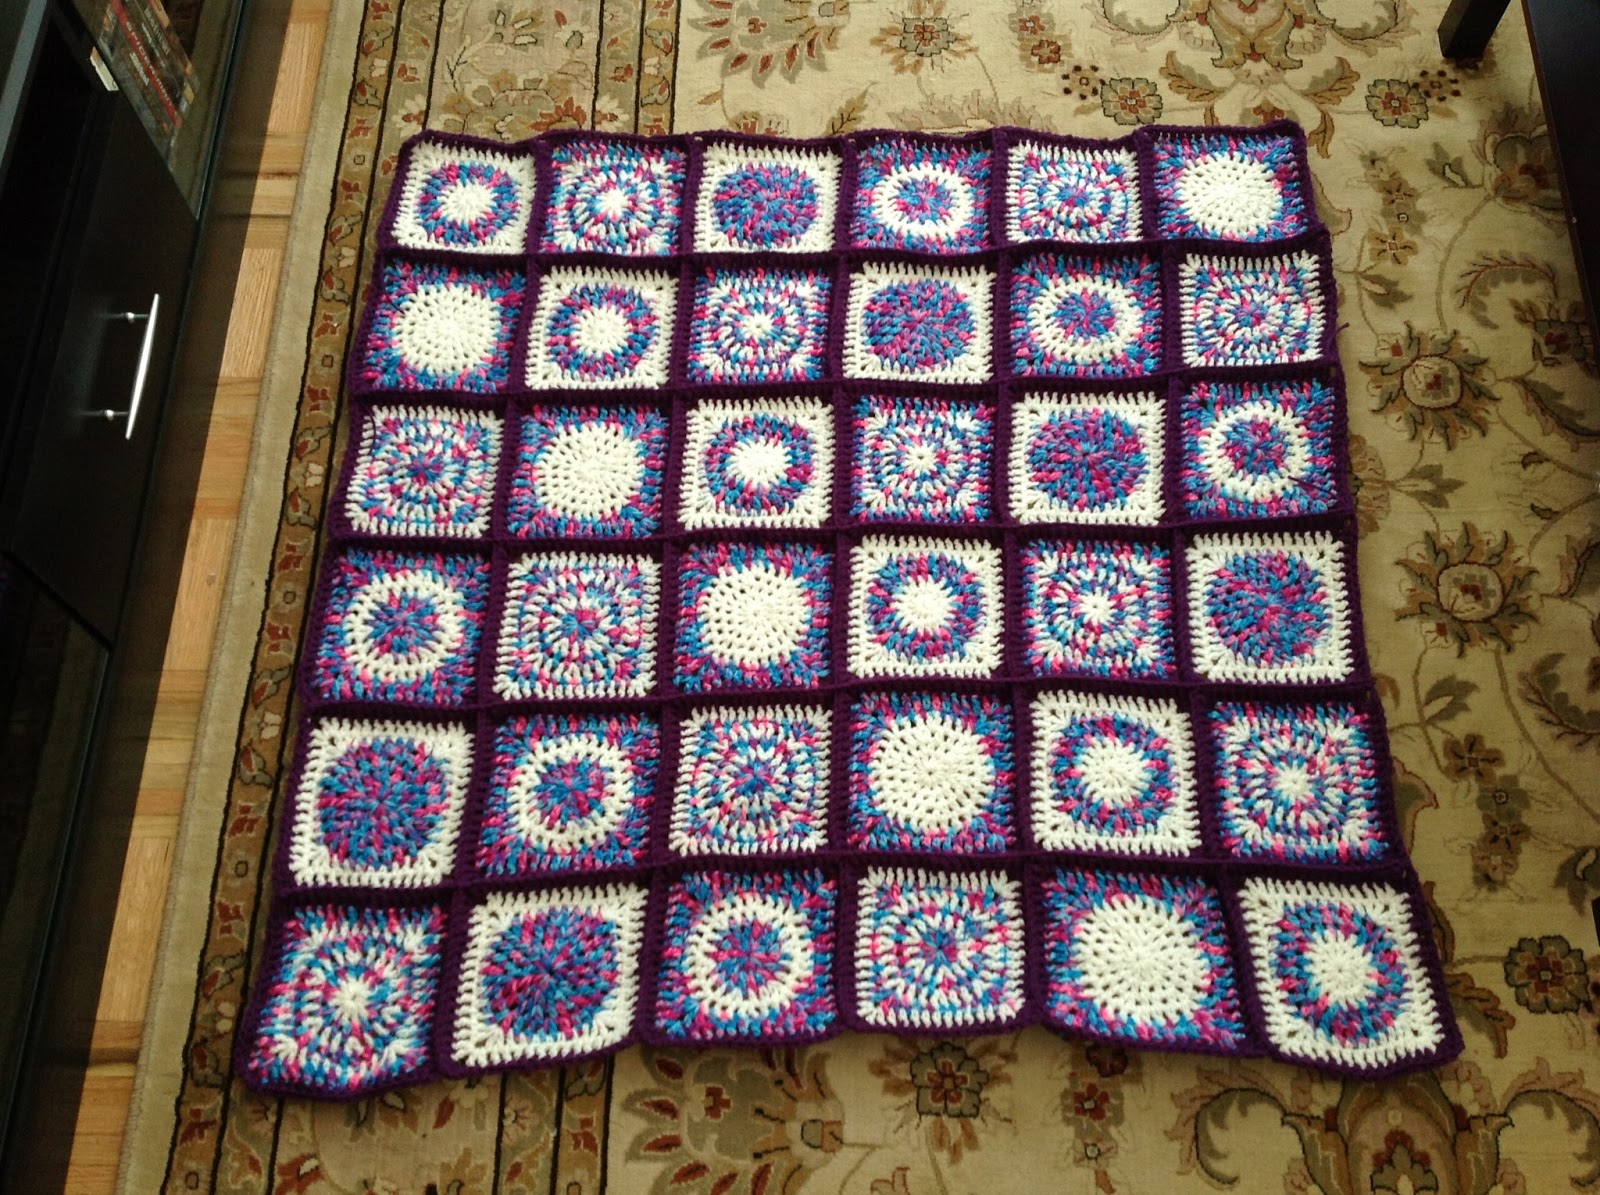
I wanted to make a blanket made up of circles joined together. I found a pattern and tried to follow it, however, since I haven't been crocheting all that long I just couldn't make sense of it and had to give up. Then, I thought I should just try and make my own simple circle pattern... and that's how I got this blanket.


I decided to play about with my newly created pattern a little and came up with 3 different styles of circles simply by using different colours for different rounds. I then reversed these colour combinations to create 6 different circles.


Now I'm going to try and share this pattern with you, this is my first pattern so I hope it makes sense. I'll start off with the circle seen in the top left of the picture above - large white circle with multi-coloured. I used Red Heart Super Saver Yarn in Soft White(colour 1) and Bon-bon (colour 2) but you can use whatever colours you like. I used a 6mm J  hook, if you are more experienced you may choose another size, I just used the J hook because it looked like a nice size for this kind of project. I'm not sure what to tell you about gauge since I don't understand this either... maybe in a few months I'll have it figured that out :-)


Krazy Kabbage's Circle Squares Pattern

Using J hook and worsted weight yarn

With C1 (colour 1) chain 4, sl st to form ring. 

Rd1: sl st in ring, ch 2, 11 dc in ring sl st into top of 1st dc (12dc)

Rd2: sl st in 1st space, ch 2, dc in same space, 1dc in next space, *2dc in next space, 1 dc in next space* repeat from * sl st in top of 1st dc (18dc)

Rd3: sl st in 1st space, ch 2, dc in same space, 1dc in next 2 spaces, *2dc in next space, 1 dc in next 2 spaces* repeat from * sl st in top of 1st dc (24dc)

Rd4: Repeat round 3 (32dc)

Fasten off then attach C2 (colour 2) in 1st space.

Rd 5 (1st round of square): Ch2, dc  ch2, 2dc in same space for the 1st corner, * dc in next space, hdc in next, sc in each of next 3 spaces, hdc in next, dc in next, (2dc, ch2, 2dc in next for corner) repeat twice from * sl st into top of 1st dc (you should have 11 stitches per side and a total of 44)

Rd 6: sl st in 1st space, ch 2, *(2dc, ch2, 2dc) in next space, dc in each of next 10 spaces, repeat twice from * sl st in 1st dc, fasten off (56dc or 14dc per side)

For variation 2 (shown in top centre of photo above), do rounds 1 and 2 in colour 2, rounds 3 and 4 in colour 1 and rounds 5 and 6 in colour 2

For variation 3 (top right of photo above), rounds 1 in colour 1, round 2 in colour 2 and alternate the colours (rds 1, 3, 5 in white and rds 2, 4, 6 in multi)

Reverse the colours to make the 3 squares shown on the bottom row.

I made 6 of each square so I got 36 squares and arranged them as show in the photo below.


The squares seemed a little small to make a blanket so I decided to make them bigger by going around each one in purple. To achieve this simply repeat round 6. If you want to make them even bigger just repeat the round again, or make more squares for a bigger blanket.
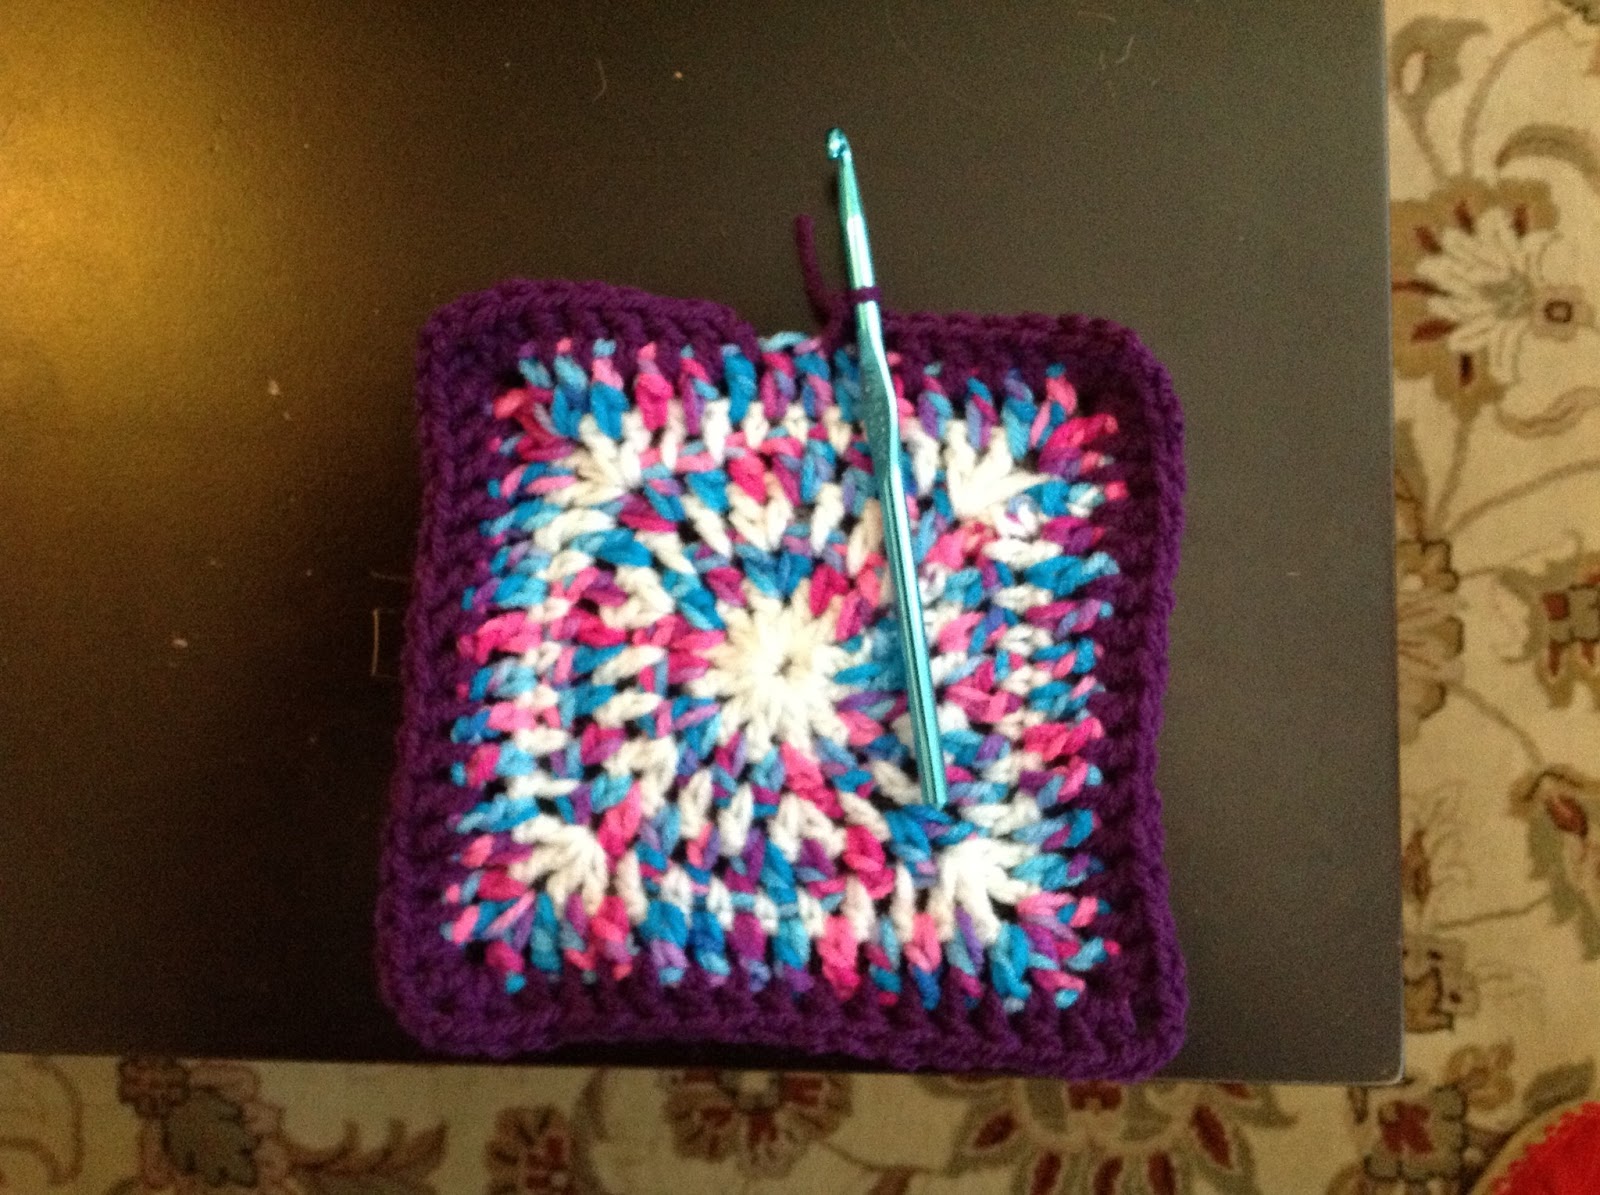

Joining the squares

To join them together, I laid them face up and single crocheted across starting with a slip stitch through the adorning corners of the first 2 squares (top right square and the one below it) then SC in same space and each space across. Do this five times so the squares are joined horizontally.  Turn the blanket and repeat the process adding in 1 chain stitch to jump over each of the previous joins.


Boarder

For the border I double crocheted all around in the dark purple.

Round 1: Fasten the yarn with a slip stitch into any space, ch 2, dc in each space across, (2dc, ch2, 2dc for corners) sl st to join through top of 1st stitch and fasten off.

Round 2: Using white, repeat round 1.

Round 3: Using purple, repeat round 1.


I hope you enjoyed this pattern. I'd love to know what you think. If you use my pattern and post it online please give me, Krazy Kabbage, credit and provide a link back to this post. Thanks!


Also, while you are here, would you mind voting for me on a facebook contest?

I'm trying to win a crib and it ends March 1st 2013. Here's the link (click link, press vote next to Kat) https://apps.facebook.com/easypromos/voteme/69654/618384197  Thank you!!


Wednesday, January 2, 2013

Amigurumi Cats

Here are the cats I've made so far. I can make these to order and other colours are also available. Please visit the Krazy Kabbage Etsy Store (link on the right) to view available stock and contact me about orders.


Amigurumi Bunnies

Here are the bunnies I've made so far. I can make these to order and other colours are also available. Please visit the Krazy Kabbage Etsy Store (link on the right) to view available stock and contact me about orders.


Thursday, October 18, 2012

Goth bunny


This is the custom ordered rabbit I made for my niece. She asked for black as the main colour and a deep purple for the ears. The face looks a little scary but it's how she wanted and I think it looks kinda cool. She also asked for a red bow and after a bit of searching I found a pattern for a big bow which I was able to adapt into a suitable size for the rabbit. It was quite simple to make with rows of half double crochet stitches.


Crochet Amigurumi Monkey


Here is the first monkey I made. This was a custom order for a family member. She asked for light blue with white bits. I think it turned out pretty well and she loves him.


I then went on to make another monkey. I was asked for a blue one so wanting to make the monkeys unique I chose a darker blue and thought lime green would work great with it. The next two photos show the steps to making him.


And here are the two finished monkeys together with the yarn I used. I found the monkeys pretty easy to make since I've gained experience from making the other toys. The only difficult bit is trying to sew them together and get things in the right places.


Thursday, July 12, 2012

Crochet Giraffe and Pink Bunny


I've finally finished the giraffe I've been working on for a while and have made a pink bunny to go along with it. I'm planning to give them as new baby and big sister gifts.

I used the free Amigurumi Animals pattern I found on the Premier Yarns website HERE. It contains patterns for the bunny and giraffe along with an elephant, a monkey and a penguin. I finished the elephant last month and have some pictures HERE.


For the giraffe I used Red Heart Super Saver yarn in bright yellow, orange and light blue. The face is stitched using Red Heart crochet thread in black. The faces are a little tricky since it's hard to get things in the right places and work with the gaps between the crochet stitches.


I made the bunny in bright pink and used the same blue as the giraffe so they match a little. I also thought that the pink and blue made a great colour combination. I made a purple bunny a while ago (see HERE) but since I'm still quite new to crochet, the ears didn't turn out quite right due to my not understanding the pattern. I made a better go of them this time, still not perfect but they turned out much better.


The pattern instructs you to make the fluffy pompom tail in the contrasting colour only, which would have been the light blue in this case. However, I decided to be a bit more creative and use both colours. I think it turned out great!


Friday, June 1, 2012

Crochet Amigurumi Elephant


Here's the crochet Amigurumi Elephant that I made using a pattern I found free online HERE. I choose to use Redheart Supersaver yarn in Real Teal for the body and Turqua for the inner ears.

The ears I've used are different from the pattern since I wanted to use a different colour for the inner ear. I designed them myself based on the bunny ears but stitched in a circular spiral to make them round.


The feet involved a round of stitches that went into the back of the previous round of stitches. Since I'm new to crochet and hadn't come across this stitch before I had to go do a quick search and found a Youtube video.


I'd love to know what you think. Please leave a comment below.

Saturday, May 19, 2012

Purple Amigurumi Bunny


Here is my finished crochet Amigurumi bunny.


I used a pattern I found free online: http://premieryarns.com/patterns/211.pdf and Red Heart Super Saver Yarn in Orchid and Aruba Sea. To sew together and for the face I used Red Heart Classic Crochet Thread in black.


Here's a photo of the back with the fluffy pom pom tail.


This is Tilly with the bunny... aww best friends!


Thank you for reading. I'd love to know what you think, please leave a comment below :-)